Shooting into the Sun can be Fun
This past Saturday I had the opportunity to do some street shooting, albeit a different kind. So I took up the challenge packed light and headed downtown for the Newbo Chicken Run a 5K costume race.
The Gear
Since I knew I'd be walking a lot, I needed to take minimal gear so I choose my camera, two lenses a 28mm f/2.8 and the 18-55 which I didn't use. I also had my Speedlite and 3ft. sync cord, with a gel on the flash. The gear I choose was dictated by the shot that I wanted to get.
I knew already that I wanted to shoot into the sun. There were several factors that led to this decision, the time of day for one; it was around 4 o'clock p.m., so I knew that the sun would still be a bit harsh yet, I had it right where I wanted it.
The Problem/Solution
I obtained a course map and then printed a more detailed map from Google marked with Landmarks and other interesting areas of the route that I felt would provide me with interesting background material or image subject matter. I took both of those marked up maps with me but not before I had picked a couple of spots to photograph from forehand. In a short 5 kilometer race like this one I would only have one or two locations to photograph the runners. Determining that I wanted a shot into the sun helped to eliminate areas that I didn't want. Next I had to choose between area's of the race course that where close together and Landmarks that I wanted.
A race like this with so many persons and all dressed in costumes excited me, I knew that I didn't know what I'd be getting, even more so I liked the fact that it all wouldn't be the same. However that also increased my opportunity to miss the shot, with so many different characters who knew what I'd be getting and how long would I have to wait in one position before I could move to the next?
Here's The Shot_ One of Em'
You can find more from the album on Google plus here Chicken Run Photo's
 Image 1
same as last Image 5 but with flash turned on blue gel removed from the flash
How I made the Image
First things First
I not only wanted to photograph into the sun I also wanted images that looked discolored, but I wanted to do this in camera not afterwards. I wouldn't be shooting in RAW and I would be using medium Jpeg files because these images were just for fun and wouldn't be leaving the web.
Beside all that I have been experimenting with in camera ways to create digital Lomo and XProcessed or Polaroid type images. At lease things similar.
WB +/- Shift Bracketing
In Canon camera I used a custom WB setting which I had preset the day before, adjusting this from a sepia photo which had the WB off because I photographed an image using the "wrong" or incorrect WB. Then in the menu setting WB +/- Shift Bracketing I moved the correction settings around to give me a more blue and magenta color. All this was saved and shot from one of the camera's presets menu.
Flash n'things
The in camera settings gave me the images I've posted below; I covered my flash with a blue gel, it turned out to be to much blue so I decreased my flash to 1/4 power and that helped but then for a different effect I changed the custom bracketing back to normal, then I ended up taking the blue gel off the flash entirely. With each new location I went to the setting change so my camera settings changed also, for the image above I incresed the flash power to full. I knew how entirly important it would be to use as much flash power as I could get shooting into the sun.
 Image 2
test shot, bluish setting withing the camera
 Image 3
adjusted image with blue gel on flash at 1/4 power
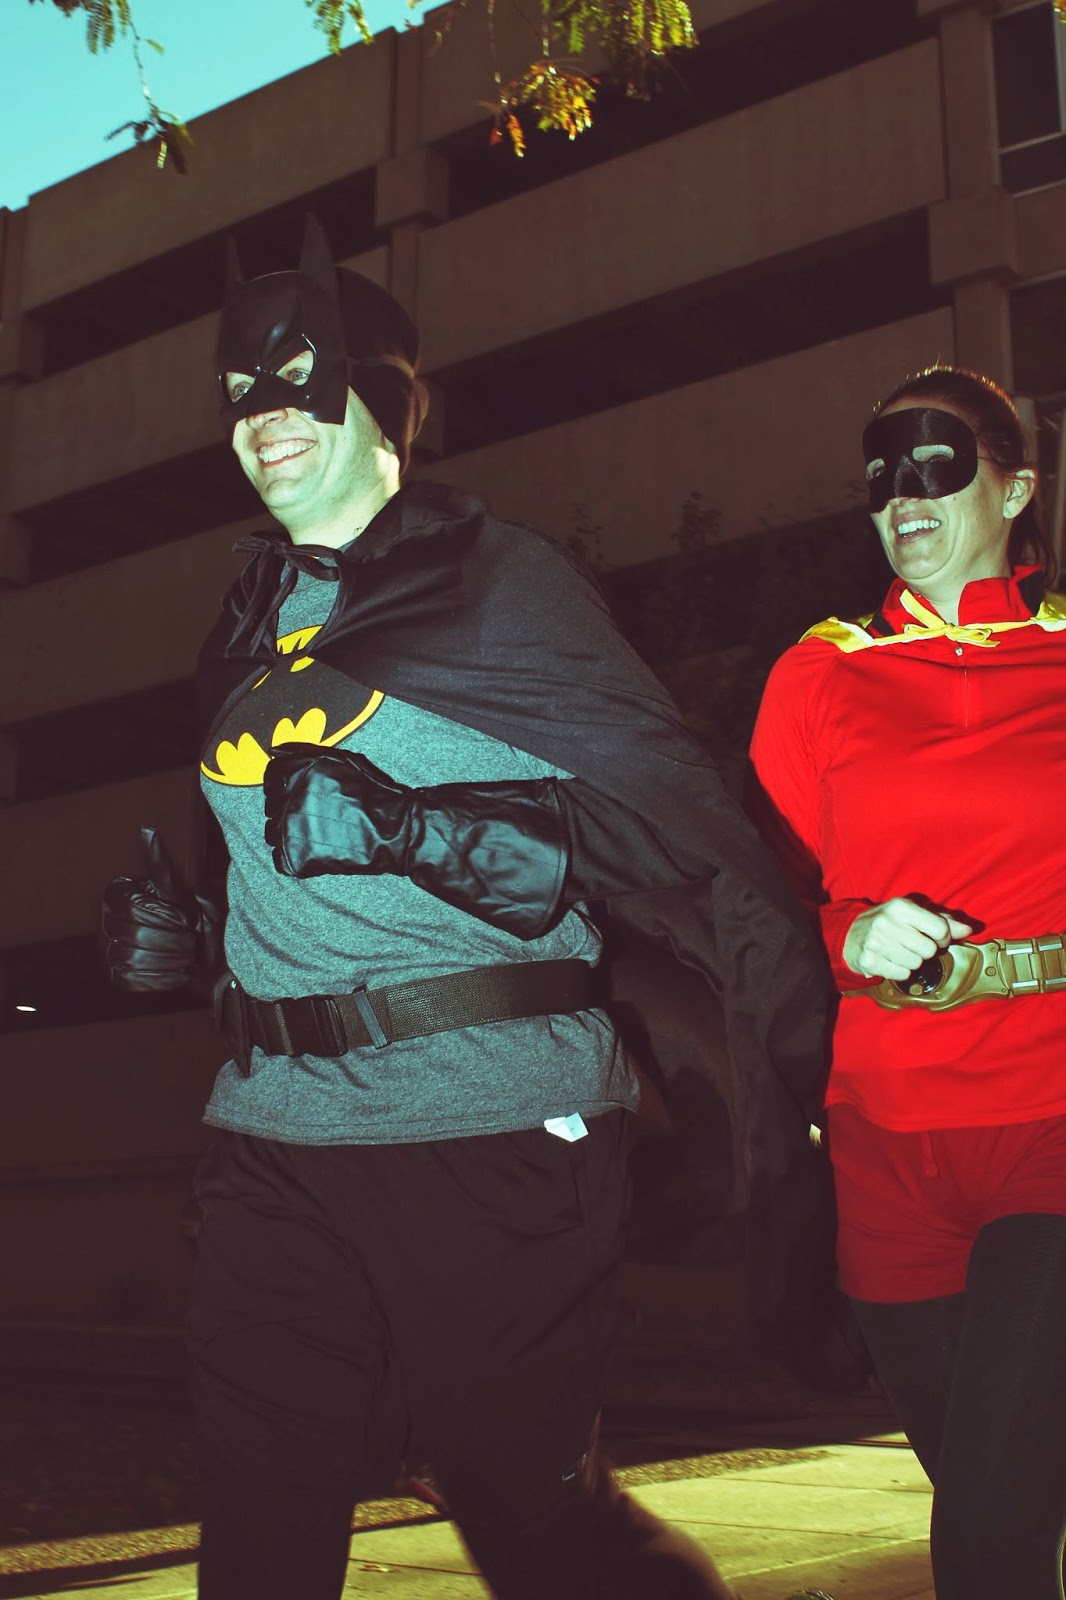 Image 4
custom bracketing off, custom WB on with "incorrect" WB and blue gell still on flash
 Image 5
No flash, as you can see from this image here flash is very important when facing the sun
So why bother, when there is photo shop, etc...
I've learned to live by those words of Frank Doorhof "why fake it when you can create it?" My chooise to create in camera permited me to save so much time. The only adjustment was made to the tone curves as I downloaded the images. No need to spend the time in photoshop or lightroom, the images where up on the web shortly after I finshed capturing them.
Learn to use your equiptment better, you'll be a better photographer with the confidence to boot. There is nothing worse than as a photographer finding myself in a situation where I don't know what to do, I find that the more I try different things the more confidence I have down the road in those tight situations.
Learn to use your equiptment better, you'll be a better photographer with the confidence to boot. There is nothing worse than as a photographer finding myself in a situation where I don't know what to do, I find that the more I try different things the more confidence I have down the road in those tight situations.
No comments:
Post a Comment